A diamond can look flat, gray, or overly dark in a photograph even when it is exceptional in person. The difference is rarely the stone. It is the lighting. This diamond photography lighting guide explains the practical approach: use large, controlled light sources to shape the diamond’s body, then add carefully placed directional light to reveal facet definition, fire, and brilliance without creating distracting hot spots.
For jewelry brands and diamond sellers, the goal is not to make every stone look artificially explosive. It is to create a polished, credible image that shows the cut, color, setting, and scale accurately enough for a shopper to feel confident buying online.
Why diamonds are difficult to light
Diamonds are highly reflective, transparent, and faceted. Every facet can reflect the camera, studio, lens, jewelry mount, or a nearby black surface. A lighting setup that works beautifully for a matte product can produce black windows, blown-out white areas, and confusing reflections on a diamond.
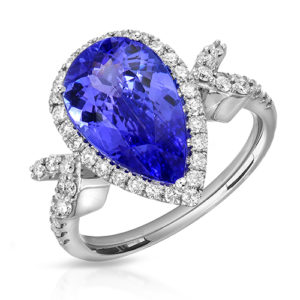
Metal adds another challenge. Polished gold, platinum, and silver behave like mirrors, while pavé settings introduce dozens of tiny reflective surfaces around the center stone. If the lighting is uncontrolled, the diamond may look bright but the ring shank can lose its shape, or the metal may look dull while the diamond becomes a white blur.
A commercially useful result requires balance. The image needs enough contrast to describe the facets, enough soft illumination to show the jewelry form, and enough sparkle to make the piece feel desirable. The exact balance depends on the diamond cut, the setting, the intended sales channel, and the brand’s visual direction.
Diamond photography lighting guide: build the light in layers
The most reliable jewelry lighting is built in layers, not with one powerful light aimed at the piece. In our Los Angeles studio, we adjust each layer around the individual item because a halo engagement ring, a loose emerald-cut diamond, and a diamond tennis bracelet all respond differently.
Start with a large, soft reflection
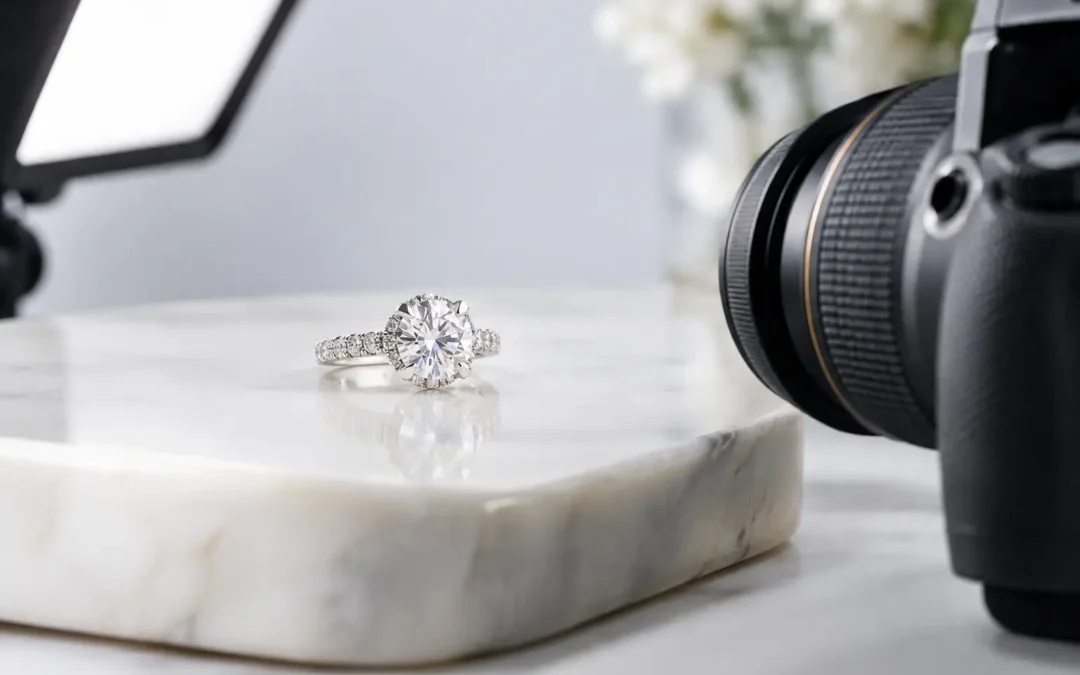
A broad diffused source establishes the overall form of the diamond and the metal. Rather than thinking only about what light shines on the jewelry, think about what the jewelry reflects. A large white diffusion panel gives polished metal a clean, elegant reflection and prevents deep, random shadows from appearing across the facets.
This base light should be soft enough to preserve detail in bright areas. A diamond photographed only with hard light may sparkle aggressively, but it can also lose the internal structure that helps shoppers understand its cut. Soft light creates the controlled foundation; it is not the final effect.
Add directional light for facet contrast
Once the base reflection is clean, a smaller and more directional light can introduce contrast. This is often where the diamond begins to show life. Moving a narrow light source slightly above, beside, or behind the stone changes which facets activate, revealing crisp white highlights and selective flashes of spectral color.
Placement matters more than output. A small adjustment can turn a featureless bright patch into a readable pattern of facets. Harder light is useful, but too much of it creates harsh glare and makes a stone appear whiter than it truly is. For e-commerce, accuracy should lead the decision. For a campaign image, a more dramatic interpretation may be appropriate if it still represents the piece honestly.
Use dark cards to define edges
White cards and diffusion add light, but black cards create definition. A narrow dark reflection can outline the edge of a round brilliant, define a polished bezel, or separate a white-metal ring from a white background. This technique is especially useful for diamonds in platinum or white gold, where the metal and stone can otherwise merge into a bright mass.
The goal is subtle control, not visible black shapes. When dark cards are positioned well, viewers simply see better structure, cleaner edges, and a more dimensional setting.
Control fire without faking sparkle
Fire is the colored flash produced when light disperses through a diamond. It is visually appealing, but it is also easy to overstate with extreme lighting, heavy retouching, or artificial sparkle effects. A catalog image covered in rainbow flares may attract attention, yet it can reduce trust when the product arrives looking different.
Natural-looking fire comes from the relationship between the light, the stone angle, and the camera angle. Slight rotation of a loose diamond or minor repositioning of a ring can activate a different set of facets. We make those adjustments slowly, reviewing the result at high magnification instead of assuming a single camera position will suit every piece.
For a product page, one primary hero image should usually prioritize clean facet detail and accurate color. Additional close-ups or video can show more movement and sparkle. That combination gives shoppers both the clarity needed to compare products and the emotional impact that helps jewelry sell.
Match the lighting to the diamond cut and setting
There is no single best setup for every diamond. Round brilliants often benefit from carefully controlled directional accents because their many facets respond strongly to small changes in light. Step cuts, including emerald and Asscher cuts, need clean broad reflections that reveal their geometric planes. Random sparkle can obscure the elegant, hall-of-mirrors effect buyers expect from these stones.
Pavé and micro-pavé jewelry need particular restraint. Each small diamond can catch a separate highlight, so uncontrolled lights quickly create a noisy surface. A more unified soft source, followed by selective accents, keeps the design refined while allowing the stones to read individually.
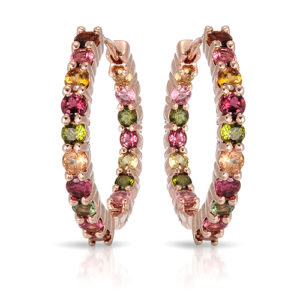
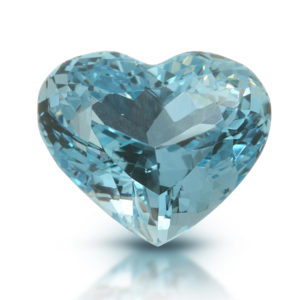
For colored diamonds and diamonds beside colored gemstones, color accuracy becomes even more critical. The background, diffusion material, and surrounding surfaces can shift the apparent tone. Neutral lighting and calibrated post-production help preserve the intended color while maintaining a premium finish.
Choose backgrounds with the sales channel in mind
A white-background image is often the workhorse of a jewelry catalog. It meets common marketplace expectations, creates consistency across collections, and lets shoppers focus on the item. However, white background does not mean flat lighting. The jewelry still needs shape, edge separation, and controlled sparkle.
Soft gray or warm neutral backgrounds can work well for branded e-commerce and editorial uses, particularly for yellow gold, rose gold, or distinctive diamond shapes. Darker backgrounds can create a luxurious campaign look, but they require more careful reflection control and may not suit every product listing. A dark setting can make diamonds appear dramatic, yet it may hide fine metal detail or feel inconsistent with an established catalog.
For many businesses, the strongest approach is a consistent white-background catalog set supported by a smaller group of creative images, on-model photographs, or short videos. The catalog images answer practical questions. The creative assets create aspiration.
Retouching should refine, not rewrite
Professional jewelry retouching is essential because macro photography reveals dust, fine scratches, loose fibers, and tiny surface imperfections that are invisible in normal viewing. Retouching can clean the background, refine metal reflections, balance exposure, and preserve a consistent standard across a collection.
It should not change the nature of the diamond. Removing every internal characteristic from a loose stone, adding false fire, or making the metal color significantly richer can create a disconnect between the photograph and the product. For high-value pieces, credibility is part of luxury.
Catalog consistency also matters. When rings, earrings, and pendants share similar brightness, scale, camera angle, and background treatment, a store feels organized and established. This is particularly valuable for wholesalers, retailers, and brands adding new collections throughout the year.
When still photography needs diamond video
Still images are best for product grids, marketplaces, zoom viewing, and fast comparison. A 360-degree video or short product clip is especially helpful when a diamond’s movement and sparkle are central to the sale. Video lets buyers see how a pendant catches light, how a ring sits in profile, or how a bracelet moves across the wrist.
Video is not a replacement for clean stills. Compression and motion can obscure small details, while a high-resolution hero image gives customers a stable view of the setting and stone. Use both when the budget and product value justify it, especially for engagement rings, premium loose diamonds, and statement pieces.
Bring a consistent lighting standard to every collection
Whether you are launching a luxury collection or refreshing a high-volume e-commerce catalog, diamond photography should be planned as a repeatable system. Establish the background, angles, crop, scale, metal finish, and level of sparkle before the full production begins. A test image can prevent hundreds of inconsistent files later.
TN Connections photographs diamonds, gemstones, and fine jewelry in Downtown Los Angeles for local clients and through nationwide mail-in projects. We create clean catalog photography, detailed retouching, and more art-directed diamond imagery based on how and where you sell. Request a free quote with your item count, intended use, and reference images, and we can recommend an approach that makes the collection look considered from the first product page onward.