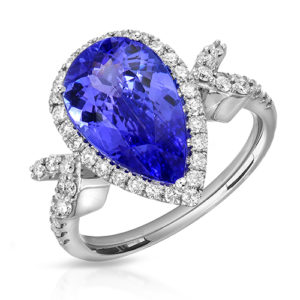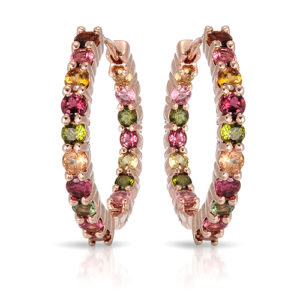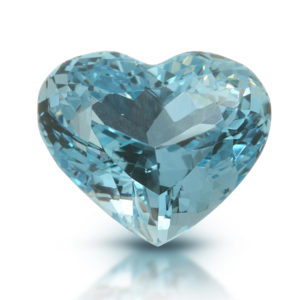
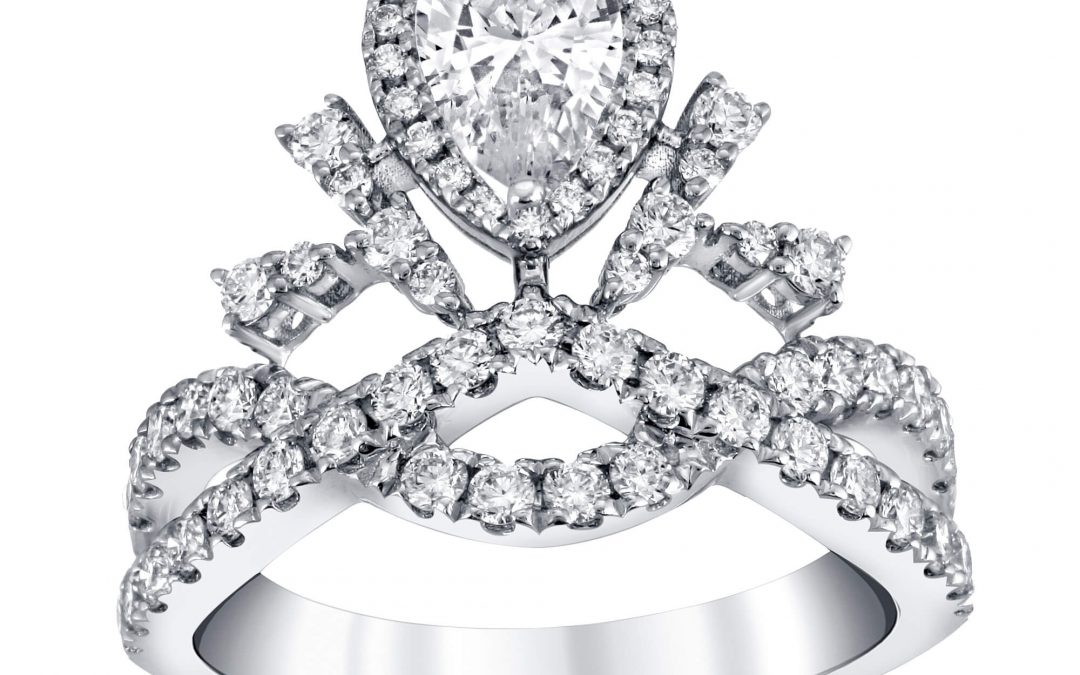
A polished ring can look spectacular in person and surprisingly flat, dark, or distracting in a product photo. That is the challenge of learning how to photograph reflective jewelry: you are not simply photographing metal and gemstones. You are photographing every light, wall, camera, hand, and object reflected in their surfaces.
For jewelry brands, those reflections directly affect shopper confidence. Clean, controlled highlights make gold look rich, silver look bright, and gemstones look alive. Random reflections can make a beautifully crafted piece appear scratched, dull, or poorly finished. The goal is not to remove every reflection. It is to shape reflections so they describe the jewelry’s form, finish, and sparkle.
How to Photograph Reflective Jewelry With Controlled Light
Reflective jewelry needs large, soft light sources rather than small, direct ones. A bare flash, exposed bulb, or sunlight hitting a polished surface creates harsh hot spots and sharp reflections. These may hide prongs, wash out diamond detail, or turn a curved band into a confusing strip of white.
Start with a diffused light source positioned above and slightly in front of the piece. A softbox, diffusion panel, or translucent shooting tent can create a broad, smooth reflection across metal. The larger the apparent light source, the softer the highlight will appear. For a small pendant or ring, even a modest light becomes large when it is placed close to a diffusion material.
A light tent can be useful for fast catalog photography, especially when consistency matters across dozens of pieces. It is not automatically the best answer, though. Tents can produce overly even lighting that removes the shape and contrast that make jewelry feel premium. For high-polish pieces, a carefully controlled open set often gives you more precise control over where highlights fall.
Think of polished metal as a tiny curved mirror. If a section of a ring looks black, it is reflecting something dark. If it looks white, it is reflecting a bright surface. Move the light, diffusion, or surrounding cards until those reflected shapes flatter the jewelry instead of distracting from it.
Use white and black cards to sculpt the metal
White foam board or white cards add bright reflections and help separate a silver, platinum, or white-gold piece from a pale background. Black cards do the opposite: they create narrow dark lines that reveal a ring’s curve, define edges, and give polished metal dimensionality.
This is one of the most useful techniques in professional jewelry photography. A completely bright reflection can make metal look featureless. Adding a slim black card near the edge of the setup can produce a controlled contour that shows the item’s shape. The card should remain outside the frame, but its reflection may be exactly what gives the piece a crisp, luxury finish.
The right balance depends on the material. Yellow gold often benefits from soft, warm-looking highlights and enough shadow to show its depth. Silver and white gold need clean bright areas but can easily pick up unwanted gray or dark reflections. Highly polished black rhodium, enamel, and onyx require especially careful control because they reveal the entire environment.
Build a Clean Set Before You Start Shooting
Jewelry photography is unforgiving. At high resolution, a fingerprint can look like a major smudge, a stray fiber can resemble a scratch, and dust around a gemstone setting can pull attention away from the product. Cleaning is not a final touch. It is part of the photography process.
Handle each piece with gloves or clean fingertips after it has been polished. Use a soft jewelry cloth, a blower, and appropriate cleaning methods for the specific materials. Delicate gemstones, antique pieces, pearls, and plated items need more caution than a solid metal band. When in doubt, avoid aggressive cleaning products that could damage a finish.
Choose a background that supports the product and your sales channel. Pure white works well for many e-commerce storefronts and marketplaces because it looks clean and keeps the focus on the item. Light gray can provide more separation for white metals. Black, colored, textured, or lifestyle backgrounds can be powerful for campaign imagery, but they demand tighter reflection control and should match the brand’s visual identity.
Keep the area around the jewelry visually quiet. A reflective piece may capture a colored shirt, bright wall, wood tabletop, or camera tripod even when those items are not visible in the frame. Surround the set with neutral white, black, or gray materials so the jewelry reflects intentional tones.
Choose Camera Settings for Detail, Not Just Sparkle
A macro lens is the most reliable option for small jewelry because it captures fine engraving, prong work, pavé settings, and gemstone inclusions without forcing you to crop heavily. Use a stable tripod and a remote shutter release or timer. At close distances, even a tiny amount of camera movement can soften the details customers want to inspect.
For a single plane, such as the face of a flat pendant, an aperture around f/8 to f/11 may give you sufficient sharpness. Rings, bracelets, and raised gemstone settings are more complicated because their depth extends beyond one focus plane. Stopping down too far can reduce overall lens sharpness due to diffraction, so focus stacking is often the better choice.
Focus stacking means taking several images with the focus moved gradually from the front of the piece to the back, then combining the sharp areas in editing. It takes more time, but the result can show a gemstone, setting, shank, and engraving with exceptional clarity. For premium product pages, that detail helps shoppers understand craftsmanship before they buy.
Keep ISO low to preserve clean detail and smooth metal tones. Use manual exposure when possible. Auto exposure can be fooled by bright backgrounds, reflective surfaces, or a diamond’s flashes of light, leading to inconsistent files across a collection.
Photograph gemstones without losing their character
Gemstones need a different balance from polished metal. Diamonds and faceted stones need some directional light for sparkle, but too much direct light can create blown-out white patches that hide facet pattern and color. Diffuse illumination establishes the stone’s form, while a smaller controlled accent light can add flashes of brilliance.
Colored gemstones should be photographed with accurate white balance and a lighting approach that preserves their hue. A sapphire that shifts too cool or an emerald that turns muddy can create avoidable customer questions and returns. The objective is an appealing image that remains faithful to the actual piece.
Do not judge gemstone color from the camera screen alone. Review images on a calibrated monitor, especially when photographing collections where consistency matters. Matching color, brightness, and background across a catalog makes a brand look more established and makes comparison easier for shoppers.
Retouch With Restraint and Commercial Purpose
Even a carefully built set will leave minor distractions. Professional retouching removes dust, lint, temporary blemishes, support materials, and small lighting inconsistencies. It can also refine edges, even out a background, and ensure the final image feels polished at thumbnail size and under close zoom.
The key is restraint. Retouching should make the image more accurate to the piece at its best, not invent a different product. Do not erase meaningful inclusions, alter a gemstone’s color beyond recognition, or make metal texture look plastic. Jewelry buyers often examine photos closely, and unrealistic imagery can damage trust after the sale.
For e-commerce, build a repeatable image plan rather than relying on one hero photo. Show the front view, side profile, back, clasp or closure, important hallmarks, and close-ups of notable stones or craftsmanship when relevant. A model or hand image can add scale and emotion, while a clean product image handles detail and comparison. Each image has a different job in moving a shopper toward a confident purchase.
Know When a Specialist Set Is Worth It
A simple piece on a matte surface may be manageable in-house. Highly polished jewelry, diamond-heavy designs, watches, intricate settings, and large product catalogs raise the stakes. The time spent controlling reflections, cleaning pieces between shots, focus stacking, and retouching can quickly exceed the cost of getting it photographed correctly from the start.
TN Connections approaches jewelry imagery as a sales asset, not just a record of inventory. Consistent high-resolution files, refined retouching, and a dependable turnaround help brands launch new collections, update product pages, and prepare for retail or trade-show deadlines without sacrificing the sparkle that earns attention.
The most effective reflective jewelry photos feel effortless because every highlight has been considered. Give the metal something beautiful to reflect, give the gemstones enough light to speak, and give shoppers a clear reason to look closer.