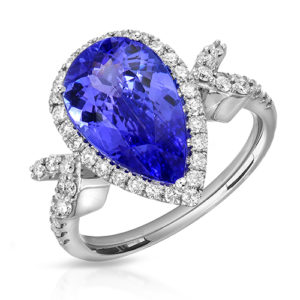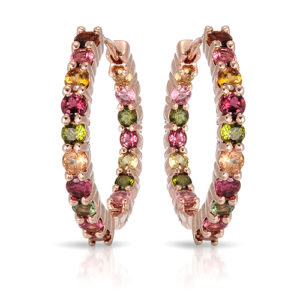
A ring can look expensive in person and strangely flat in a photograph for one simple reason: jewelry does not respond to light like most products. To learn how to light jewelry, think less about making it brighter and more about placing controlled reflections. The goal is clean metal, visible detail, believable gemstone color, and enough sparkle to make the piece feel alive without hiding its craftsmanship.
For most jewelry photography, the most reliable starting point is a large, diffused key light above and slightly in front of the piece, paired with carefully placed white and black reflectors. The diffused source creates broad, polished highlights on metal. The reflectors shape those highlights, define edges, and keep diamonds and colored stones from turning into pale, featureless patches.
Why Jewelry Lighting Is Different
Metal is reflective. A polished gold bracelet does not have a fixed color or texture for the camera to record. It reflects its environment: the light source, the lens, the ceiling, the studio walls, and even the photographer. If the reflection is uncontrolled, the jewelry can show muddy gray bands, distracting bright spots, or dark areas that make premium metal look dull.
Diamonds and gemstones introduce another challenge. A diamond needs both soft illumination and small areas of contrast to reveal its facets and scintillation. A sapphire, emerald, or tourmaline needs light that preserves its true body color without blowing out highlights or making the stone appear darker than it is. This is why a single softbox pointed at a ring rarely produces a sales-ready image.
At TN Connections, our Los Angeles jewelry photography studio treats lighting as part of the art direction, not a preset. The right approach depends on the metal finish, stone cut, setting height, intended sales channel, and whether the image must match an existing catalog.
Start With a Large, Soft Light Source
Begin with a broad, diffused light source positioned above the jewelry at roughly a 30- to 45-degree angle. A softbox, diffusion panel, or light tent can work well, provided the diffusion is large relative to the piece. Larger light sources create smoother and more elegant reflections across gold, platinum, sterling silver, and polished steel.
Keep the light close enough to wrap around the form, but not so close that every surface turns uniformly white. A plain white reflection may look clean, yet it often erases the shape of a rounded shank, a bezel edge, or the texture in a sculpted pendant. Move the light gradually and watch the reflection, not just the object. Jewelry photographers light what the camera sees reflected.
For white-background catalog photography, the background should be lit separately when possible. This gives you control over a pure white background without flooding the jewelry with extra light. When background and product lighting are tied together, it is easy to lose prong detail, facet definition, and the natural warmth of yellow gold.
Use White Cards to Fill, Black Cards to Define
White foam core or white cards act as fill sources. Place them near the jewelry to brighten shadowed metal, open up the underside of a setting, or add light to an area that a softbox cannot reach. They are especially useful for earrings, chains, and high-set rings where lower details tend to disappear.
Black cards are equally important. They create controlled dark reflections that outline the jewelry's contours. A narrow black card reflected along one side of a gold ring can separate the edge from a white background and make the curve feel dimensional. On highly polished watches and bracelets, black flags prevent the case or links from becoming a blank silver mirror.
The trade-off is restraint. Too much white fill produces a washed-out image. Too much black reflection makes the jewelry look heavy and can obscure metal color. Small movements matter, so adjust one card at a time and review the image at high magnification.
How to Light Jewelry With Diamonds
Diamonds need a balanced lighting pattern rather than constant brilliance across every facet. Broad diffused light establishes the diamond's overall shape and keeps the setting visible. Then, introduce a smaller, more directional light or a carefully positioned reflective card to create crisp flashes in selected facets.
Avoid aiming a bare, harsh light directly at the diamond and calling the resulting bright spots sparkle. This often creates clipped white areas with no detail and can make inclusions or dust more noticeable. Instead, work with modest contrast. A diamond should show bright facets, darker facets, and clear pavilion structure where the angle allows it.
For engagement rings, photograph more than one useful angle. A front three-quarter view often shows the center stone and setting design, while a side view communicates profile height and prong work. A straight-on image may suit a catalog, but it may not convey scale or craftsmanship as effectively as an additional angled image.
Lighting Colored Gemstones for Accurate Color
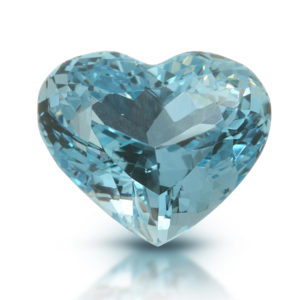
Colored stones demand color discipline. Their appearance changes with light direction, light size, color temperature, and the angle between the stone and camera. Emeralds can look too dark, opals can lose their play of color, and pale aquamarines can disappear against a bright setup.
Use high-quality, color-consistent lights and establish a correct white balance before judging the stone. Soft top light generally gives an even starting point, while a subtle side or back light can help reveal translucency and internal color. Rotate the gemstone or change the camera angle before adding more power. Often, the issue is not insufficient light but an angle that is reflecting the light source rather than showing the stone.
For loose diamonds and gemstones, accuracy matters as much as visual appeal. The photograph should not promise a saturation, clarity, or brilliance level that the stone does not possess. Professional retouching can remove dust, fibers, and minor distractions, but it should preserve the material's honest character.
Control Reflections by Moving the Set, Not Just the Lights
When a reflection looks wrong, many photographers immediately move the light. That can help, but the faster solution is often to rotate the jewelry, tilt the support, or shift the camera position a few degrees. Because metal reflects its surroundings, a small change can replace a dull gray reflection with a clean bright band.
Acrylic risers, wax, museum putty, fishing line, and jewelry holders can be useful for creating precise angles. Keep supports out of critical reflection paths whenever possible. For white-background e-commerce work, the finished image should look naturally supported and properly shaped, not like it is floating awkwardly or leaning under its own weight.
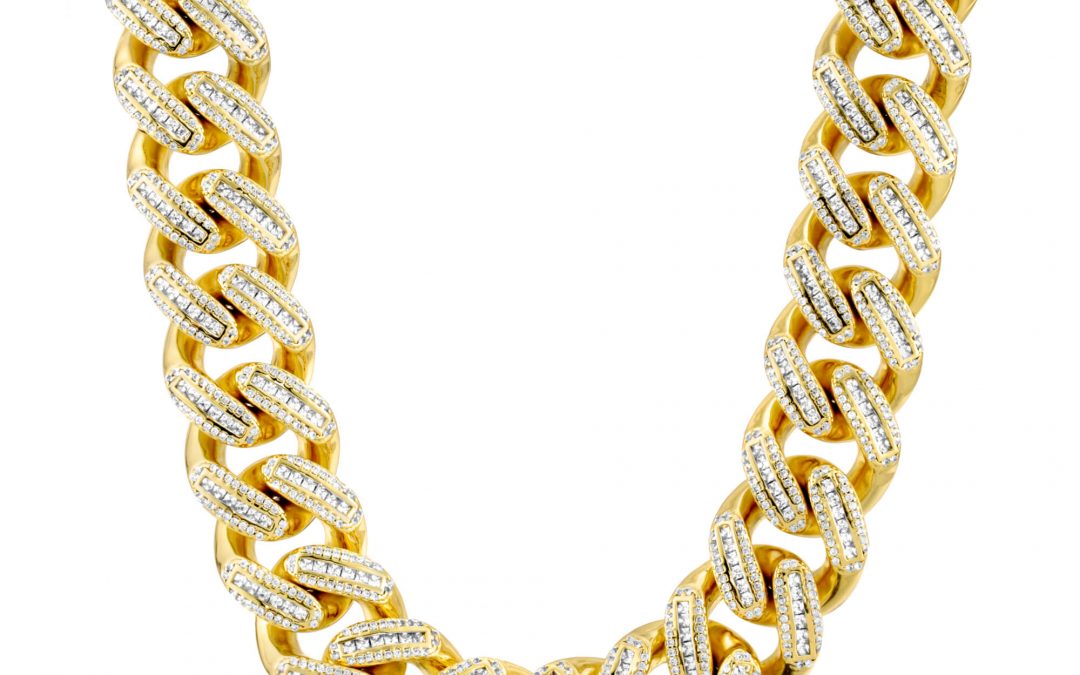
Chains need particular attention. Lay them with intentional curves, then light for the metal's surface and the gaps between links. A chain that is too evenly lit can lose its pattern; a chain with too much contrast can look broken or tarnished. Consistent spacing and restrained highlights help shoppers understand the length, width, and link style.
Build a Repeatable Catalog Lighting Setup
A beautiful one-off image is not enough for a collection page. Customers compare products side by side, so necklaces, rings, earrings, and bracelets should share a consistent background tone, shadow direction, scale, crop, and level of retouching. Consistency also makes new releases easier to add later.
Document the setup once it is approved. Record the camera height, focal length, light placement, diffusion distance, reflector positions, exposure, and crop guide. For volume jewelry catalogs, this process reduces reshoots and supports faster production without sacrificing quality.
A practical catalog workflow usually includes a primary angle for product comparison, a detail or side angle where construction matters, and close-up imagery for significant stones, clasps, engravings, or texture. Marketplace sellers may need simpler, more standardized views. Luxury collections may benefit from additional creative images, hand-model photography, or short 360-degree videos that show movement and scale.
Finish the Image Without Over-Retouching
Lighting does most of the visual work, but high-resolution retouching finishes the image. Dust, fingerprints, stray fibers, tiny scratches, and support marks are especially visible in macro jewelry photography. Retouching should clean these distractions while keeping metal texture, gemstone facets, and setting details believable.
Do not rely on retouching to repair fundamentally poor lighting. Rebuilding missing highlights or correcting inaccurate gemstone color takes longer and can create an artificial result. A well-lit capture gives the retoucher clean information to refine, which improves turnaround and keeps a full catalog visually consistent.
If your pieces need polished white-background images, diamond and gemstone close-ups, or a lighting style that matches an established collection, bring them to our Downtown Los Angeles studio or send them through our nationwide mail-in service. Request a free quote with your piece count, desired angles, and intended sales channels. The best jewelry lighting makes shoppers pause long enough to see the work behind every detail.